 Points Points!
How it works
Less setup.
More understanding.
Add your credit cards. Set your goals. Get more personal card comparisons, with Search ready whenever you need it and optional arrival alerts on your Lock Screen.
01
Start with your wallet.
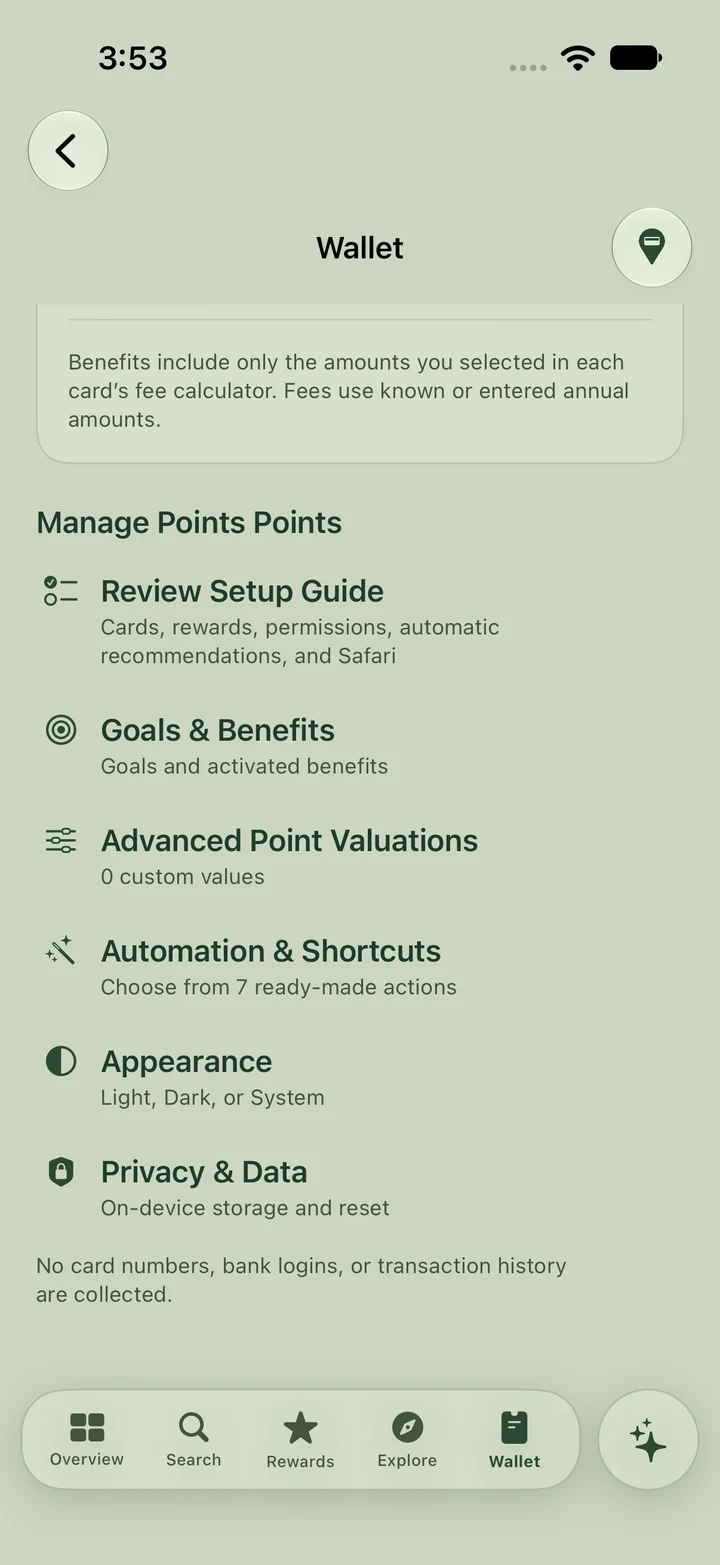
Open Wallet and choose Review Setup Guide to select the card products you own. Goals & Benefits and Advanced Point Valuations let you personalize your setup as you go.
- No Points Points! account required
- Choose card products by name
- Keep your wallet profile on your device
02
Set a goal.
Make it personal.
A trip on points. A hotel stay. Your next status milestone. Tell Points Points! what you’re working toward, so supported recommendations can reflect what matters to you.
Open Wallet → Goals & Benefits, add a supported goal, and choose the one you want to use for recommendations. Add your program preferences and point valuations to make comparisons more personal.
Personalize the goal’s name, pin it to Overview, and update your progress when you have a new balance or qualifying milestone.
Goals are optional. Recommendations still account for reward rules, eligibility, and the information available. Progress you enter is recorded manually; it is not linked to your loyalty account.
01 / Choose your direction
Select a supported reward program, points target, or status milestone in Goals & Benefits.
02 / Choose your active goal
Use the goal you want relevant recommendations to consider. Pinning a goal to Overview is a separate display choice.
03 / Keep it current
Review your preferences and record progress as your plans change. Your profile stays on your device.
03
Let the answer
come to you.
During app setup, enable automatic recommendations and allow notifications. Enable Always location access for arrival recommendations while the app is in the background.
- Arrive at a supported place
- See the suggested card on your Lock Screen
- Tap for the explanation; choose your payment card yourself
Add the optional Best Card Here widget to your Lock Screen for a quick way to open a nearby check.
You can change the automatic recommendation setting in Current Location and manage location and notification permissions in iOS Settings.
If the place isn’t clear or an alert isn’t delivered, open Nearby to choose a place or use Search. These features also work when you leave arrival alerts off.
 Points Points!now
Use Amex Platinum
At this location · based on your Wallet and settingsExample card and notification; actual content depends on your Wallet.
04
Search whenever you need to.
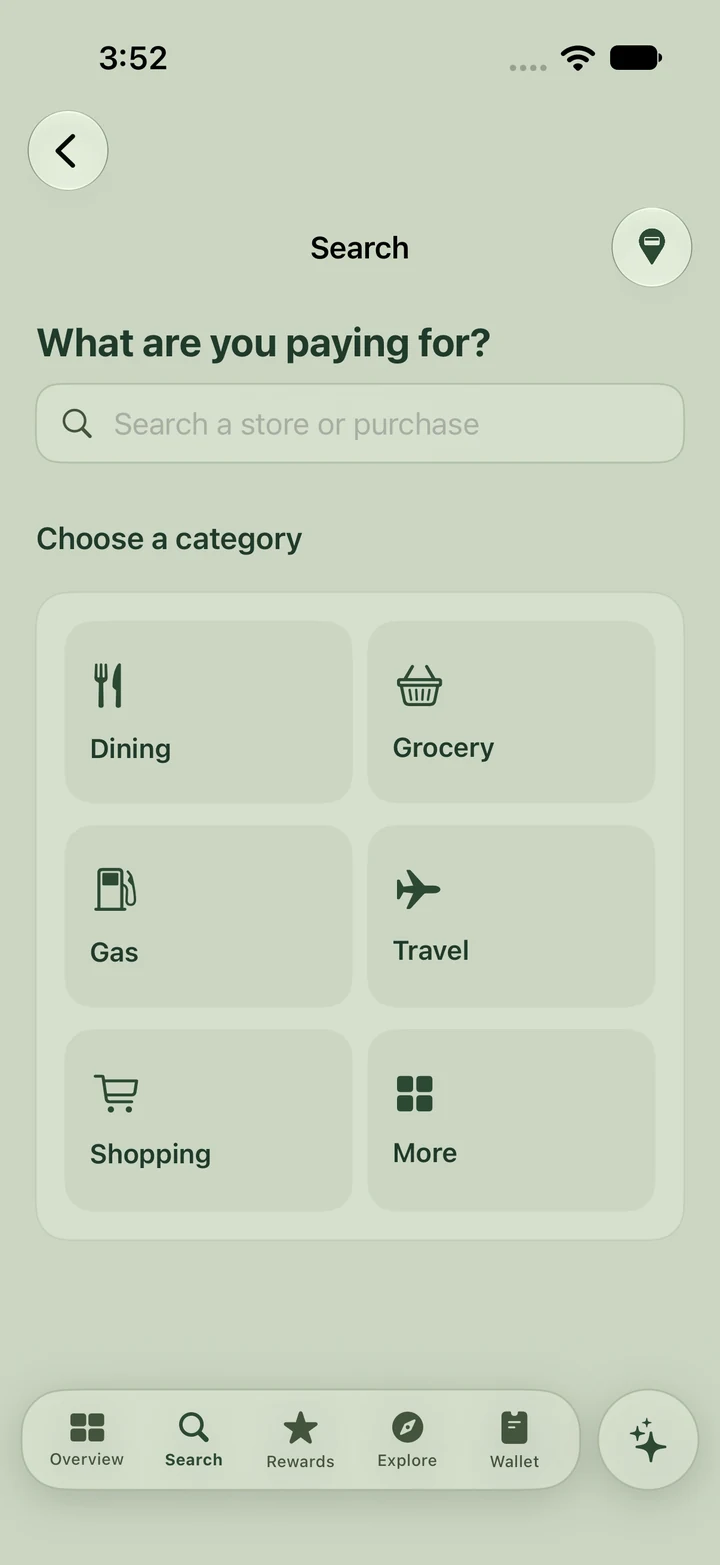
Open Search and enter a store or purchase, or choose a category such as Dining, Grocery, Gas, or Travel. Start here when you want to compare which card to use.
- Search a store or purchase
- Browse everyday spending categories
- Compare your cards for that purchase
05
Explore what fits your life.
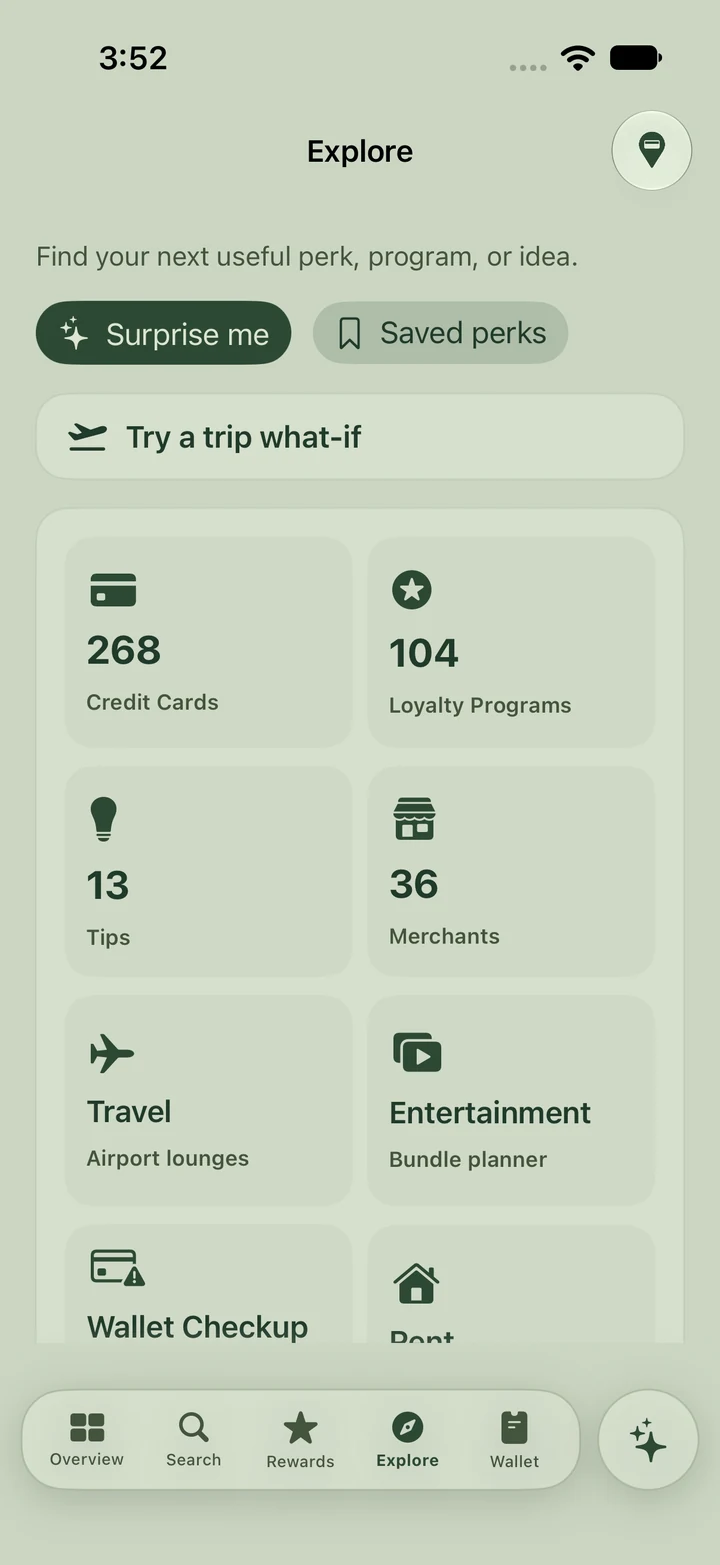
Open Explore to browse cards, loyalty programs, tips, and merchants. Travel and Entertainment lead to tools for looking at trips and subscription choices in more detail.
- Browse cards and loyalty programs
- Find travel and entertainment tools
- Save useful perks for later
Your choice
stays yours.
Points Points! helps you compare. You choose the card to pay with and confirm any benefits or enrollment with your issuer.
The app does not move money, route payments, or automatically switch the active card in Apple Pay.
Make your next purchase count.
Always free to use. Privacy first. That’s Points Points!